RADICAL RE-ASSIGNMENT
By MICHAEL PERKINS
YEARS AGO, A BROAD STUDY ON HOW OUR BRAINS INTERPRET COLOR included an experiment in which the familiar hue “cues” stored in our brains were upended, much to the dismay of selected test audiences. In one such experiment, an assortment of familiar foods had their native colors radically reassigned, resulting in green beef, pink peas, turquoise potatoes, and so forth. In many cases, the test group found that the meal, which they had been informed had been prepared from highest-quality ingredients, was simple inedible. Merely changing the color of something “known” had rendered it alien.
 Almost immediately after mastering the accurate rendering of color, which took decades, photographers began deliberately toying with “wrong” representations of color in various film, and later, digital processes, the object being to challenge how we digest what we see, and to re-imagine the familiar as the strange. One such method which has survived to the present day is infrared photography, in which, through either filters or re-engineered sensors or both, we reconfigure cameras to “see” the light wavelengths that are typically invisible to the naked eye. The results, which can reverse the object-shadow relationship and freakishly re-color skies and landscapes, are the stuff of dreams.
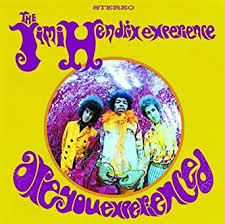
One of the best-known infrared images (which is also shot with a fisheye lens, for double freakiness) is the cover of the classic Are You Experienced? album by Jim Hendrix (see insert at left). The average DSLR can be rigged to shoot infrared, and the web is a-slosh with tutorials on how to shortcut and/or cheat if you don’t want to do costly camera conversions or arcane calculations.
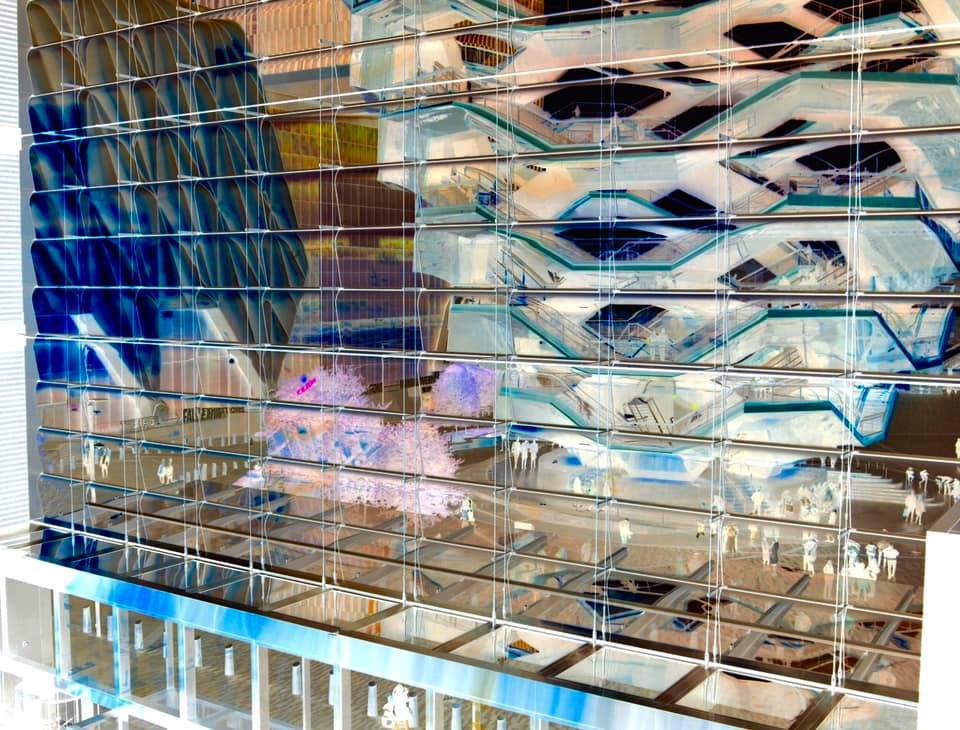
Hudson Yards And Vessel, 2019. A fake infrared created with the free phone app Negative Me.
My own cheapo-cheapo alternative to true infrared has been in the use of phone apps like Negative Me, which renders a fake negative of any image shoved through it. This achieves the first part of infrared, in that it reverses the relationship between an object and its shadows or textures. Sending that image back to your phone allows for all the color tweaking and contrast enhancement you’d use for any image, depending on how deranged/extreme you want the result to be, aping another aspect of true infrared. There are people who love the look of monochrome infrared, and, for those folks, I’d recommend skipping the phone adjustment of the negative image completely just sending it back to your main suite of processing software to either re-color or convert to mono, since that seems to preserve sharpness and allow for finer-tuning. As with many app-PC-laptop conversions, the fewer copies of copies of copies you can avoid, the better. For the record, the image seen here was master-shot on a DSLR, sent to my phone, sent to Negative Me, sent back to my phone image file, tweaked, sent to Facebook, then sent back to Photos for Mac. A long way around the horn, admittedly, and yet it’s still passable, in that it doesn’t look any more unreal than you’d expect.
As with the green steaks, you may decide that you don’t have a lot of, um, appetite for the infrared look at all. Even better: doing a quickie mock-up of what a real infrared might look like could save you time, trouble and dough on a pricey experiment. Or, like me, you might decide that you use this kind of effect just enough to justify doing a “not bad” version of it for cheap. In any event, just have fun.
And remember, no dessert until you finish your pink peas.

Leave a comment